
Use Case I would like to monitor events from a Synology NFS mount on another system.
Solution Python module to monitor and forward filesystem events to an AWS SQS queue, that my external system can monitor and act upon
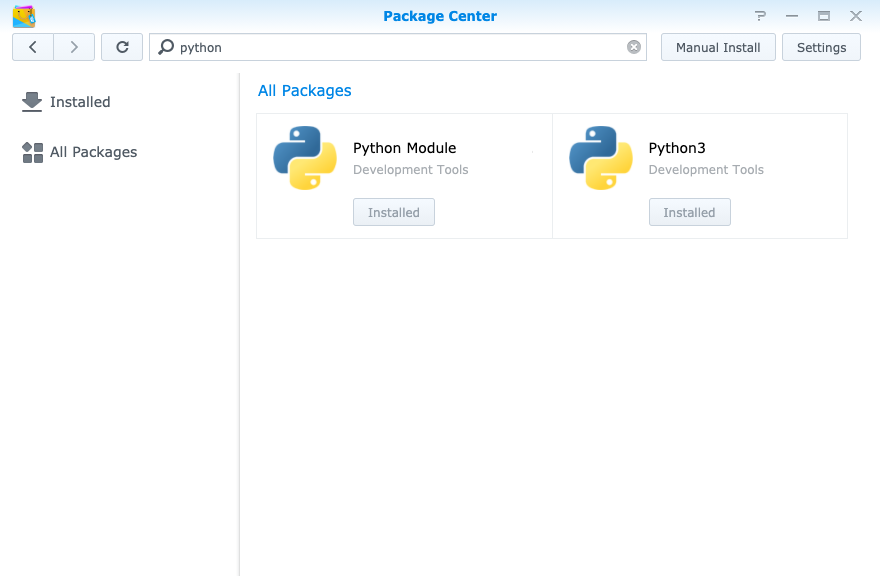
Install Python 3 on Synology
To do this, visit the Synology Package Center, search for “python” and install
Then ssh into your Synology device and verify that python3 is available, by executing python 3 --version, which should produce a response as follows:

Install the Utility monitor-fs
- Next, navigate to the volume of your device where you wish to install and run this utility from.
- Ensure that you have permissions to write to this folder (
sudo mkdir execution_env; sudo chown yourusername execution_env) - Create a python3 virtual environment:
python3 -m venv monitor-fs-pyenv - Activate the virtual environment, by running:
source monitor-fs-pyenv/bin/activate - Grab the. utility from github:
curl -L https://github.com/alex4u2nv/monitor-fs/archive/master.zip -o monitor-fs.zip - Unzip it using 7z command:
7z x monitor-fs.zip -r - Use pip3 to install the module:
pip3 install monitor-fs-master/ - Check to see if it’s installed by running,
monitor-fs -h
Setup AWS
- Create an IAM user for programatic access, and download the access keys.
- While on the screen of the newly created IAM user, copy the user’s arn — it should look something like this:
arn:aws:iam::account_id:user/username - Navigate to the SQS console, and create a queue to collect these events.
- Select Standard Queue
- Provide a name for the queue
- Access Policy:
- Basic
- Only the specified AWS accounts, IAM users and roles
- Paste the arn
- Only the specified AWS accounts, IAM users and roles
- Paste the arn
For example:

After creating the Queue, you should now have a page with details, that shows you the Queue’s URL. You will need this for running the application.
Configure your environment
- Create an aws configuration folder in your home folder:
mkdir ~/.aws - Create 2 files in this folder:
touch ~/.aws/credentials ~/.aws/config - Edit the config file such that it has the following:
vi ~/.aws/config
[default]
region = us-east-1 # your default aws region- Edit the credentials file so that it has your AWS creds that you downloaded:
vi ~/.aws/credentials
[default]
aws_access_key_id = _YOUR-ACCESS_KEY_
aws_secret_access_key = _YOUR_SECRET_KEY_
Monitor
Execute the command , which should look like
monitor-fs -f /path/to/folder -q https://sqs.your-region.amazonaws.com/accountid/queue_name

# this produces the following output if successful:
PID File: /tmp/monitor-fs.pid
PID: 31988
Verify
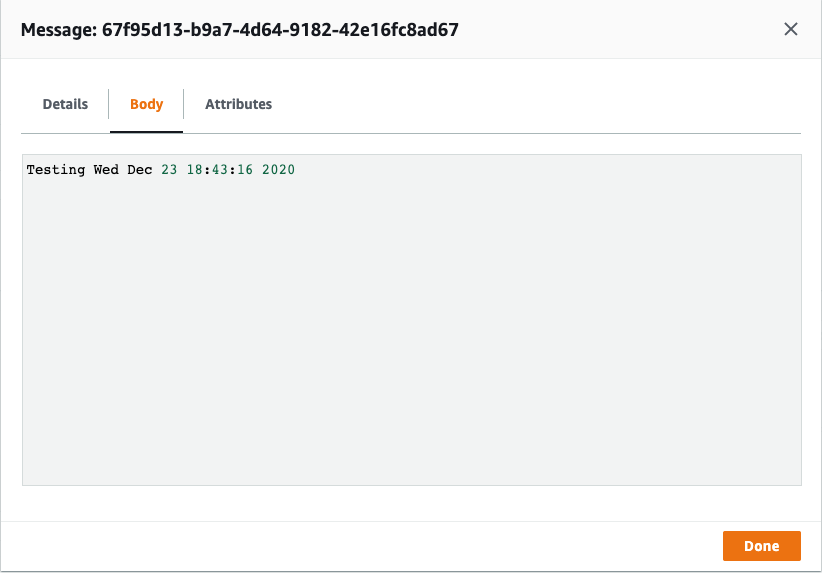
By default the utility will quickly check the configurations by sending a test message to the queue. Log into your AWS console and verify by clicking [ Send and Receive Messages ] followed by [ Poll for messages ] in the second half of the page.
You should see the test message in the queue:

Next, you can perform some activity in the folder that’s being monitored, and refresh this page to see the messages. Once all’s good; build your listener to respond to the events
https://boto3.amazonaws.com/v1/documentation/api/latest/guide/sqs.html
Troubleshooting:
Error: Command ‘[‘/volume2/pyenvs/monitor-fs-pyenv/bin/python3’, ‘-Im’, ‘ensurepip’, ‘–upgrade’, ‘–default-pip’]’ returned non-zero exit status 1.
- Create Environment without pip:
python3 -m venv --without-pip monitor-fs-pyenv - Activate the python environment:
source monitor-fs-pyenv/bin/activate - Install pip:
curl --silent --show-error --retry 5 https://bootstrap.pypa.io/get-pip.py | python
You should now have a virtual environment with pip3 installed.
